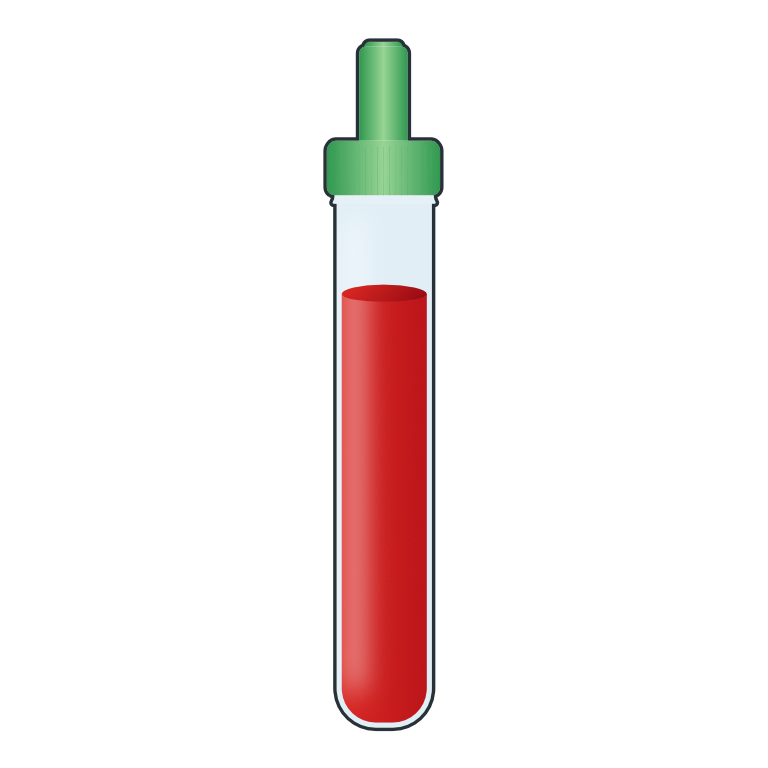
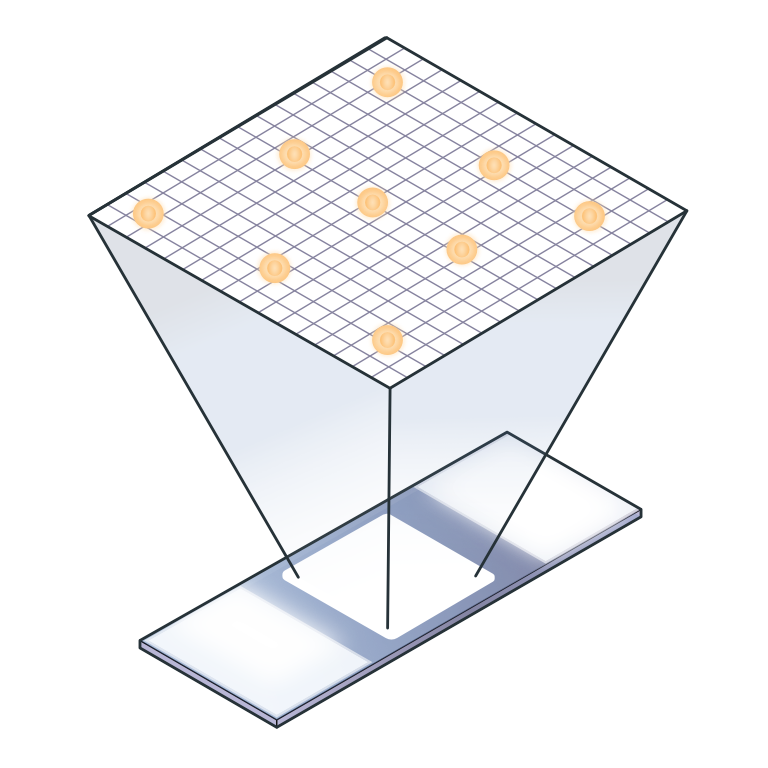
Protocols for the isolation of peripheral blood mononuclear cells (PBMC) from whole blood samples are well established. Below we have explained how to isolate PBMCs from 10 ml of whole blood using a standard density gradient medium (DGM) centrifugation process.1 We have also included instructions for manually counting and freezing your cells for long-term storage.
If you are isolating PBMCs from a buffy coat, rather than whole blood samples, you'll want to look at this protocol instead. If you do not have the full capacity to isolate PBMCs in-house, PBMC isolation can be outsourced to a central laboratory.
Specialized equipment required
Below we have listed some of the key equipment required for PBMC isolation via DGM centrifugation:
- Microbiological safety cabinets
- Centrifuge with a swinging rotor
If planning to freeze your samples for long-term storage, you will additionally require:
- -80°C freezer for short-term storage
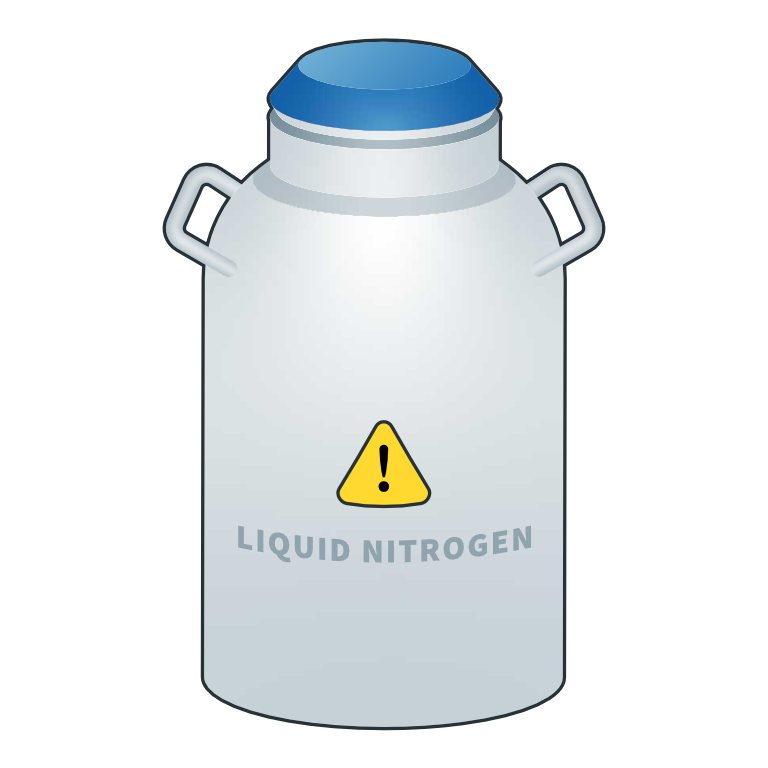
- Vapor phase liquid nitrogen tanks for long-term storage
- Label printer to identify samples
- Automated cell counter/hemocytometer
All this equipment should be properly maintained, cleaned, and calibrated on a regular basis.
Protocol to isolate PBMCs from whole blood
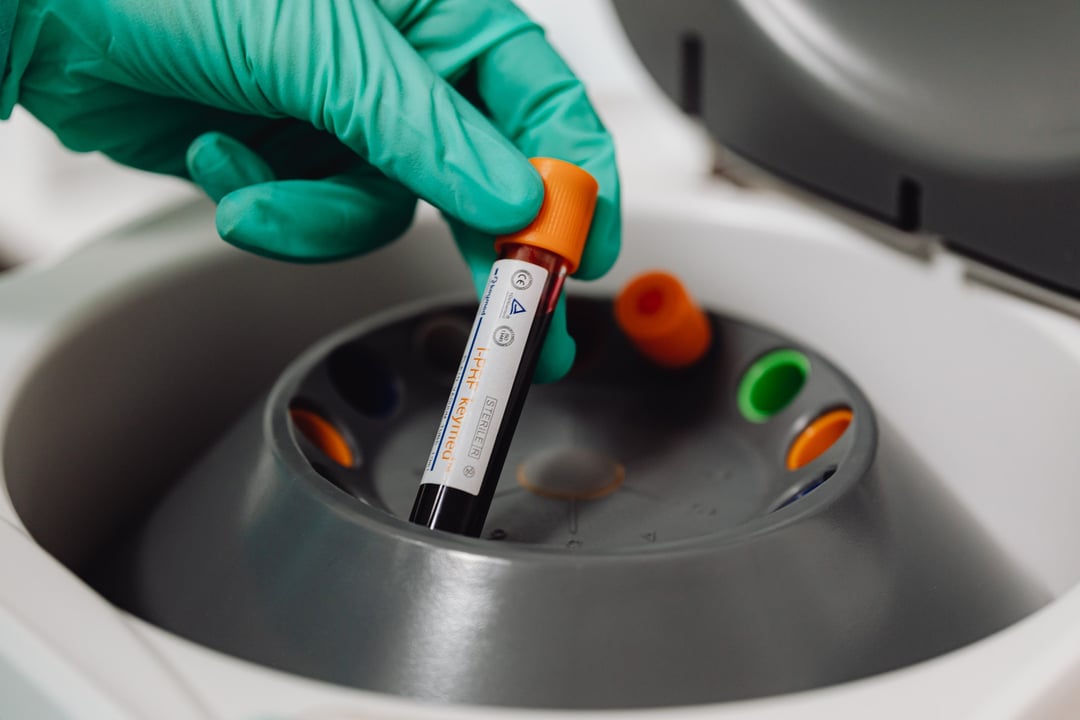
To prevent exposure to blood-borne pathogens, this entire process should be performed in a Biosafety Level 2 (BSL2) Laboratory. A risk assessment should be carried out to reduce the risk of infection and anyone handling samples should be fully vaccinated.
- Dilute whole blood with sterile PBS at a 1:1 v/v ratio.
- Prepare a tube with DGM as per the manufacturer's instructions e.g., a 50 mL tube with 15 ml DGM.
- Ficoll DGM has a specific density of 1.077 g/ml, which ensures proper separation of the blood layers
- Gently, overlay the diluted blood onto the DGM taking care not to mix the layers.
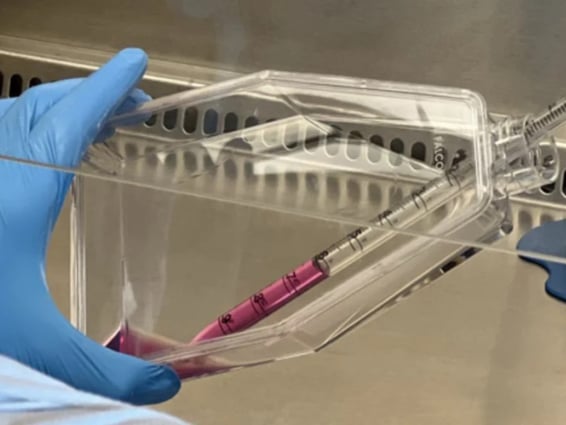
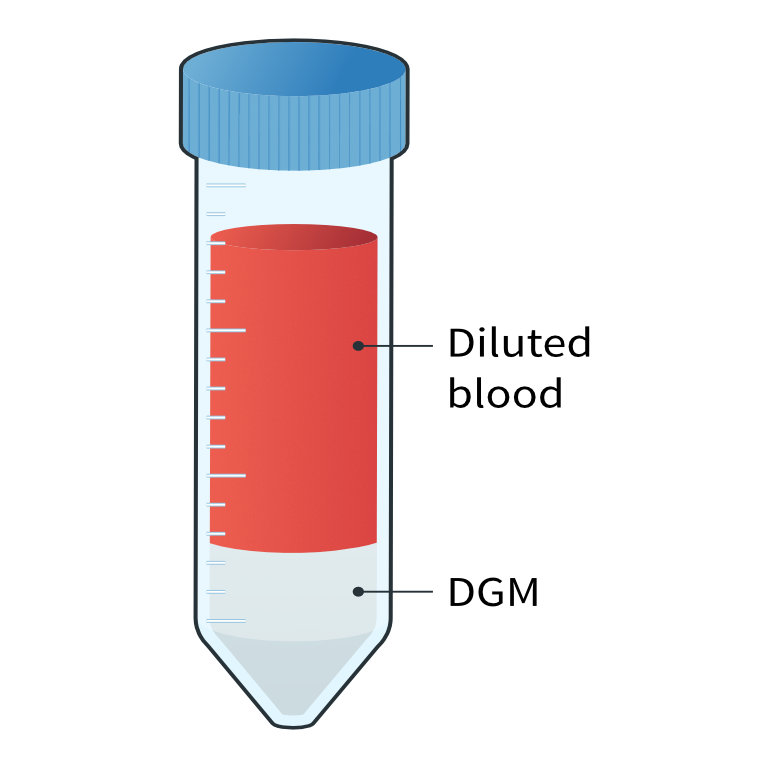
- Centrifuge at 1000 x g for 20 mins at room temperature and with the brake off to generate distinct plasma, PBMC, DGM, and red blood cell (RBC) layers (figure 4).1
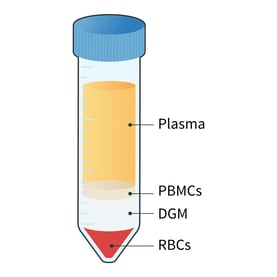
Figure 4: Following centrifugation, different layers of the whole blood are visible. The main cellular component of the blood is RBCs which contributes 45% of the total blood volume. The remaining 55% is plasma, which includes nutrients, protein, waste products, and platelets. The PBMC fraction lies just below the plasma layer. It includes lymphocytes (T and B cells), naive cells, monocytes, dendritic cells, hematopoietic progenitors, and stem cells. Granulocytes and morphonuclear cells, which are heavier than PBMCs, are located between the PBMC and RBC layers.
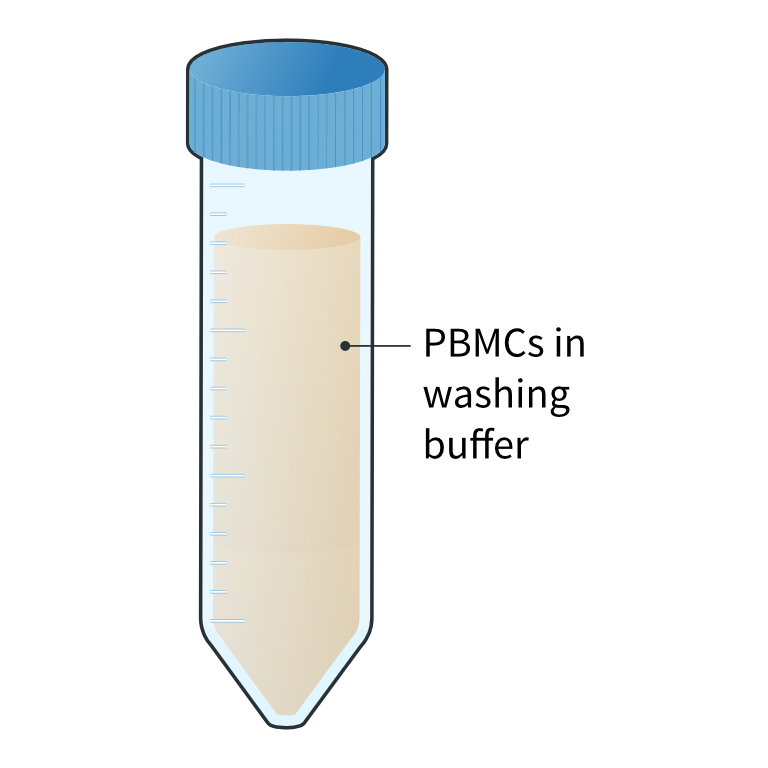
- Insert a pipette directly through the plasma layer and carefully harvest the PBMC layer via gentle aspiration and transfer it to a fresh 50 mL tube.
- Add wash buffer (PBS+0.5% BSA) to the harvested PBMC to give a final volume of 45 mL and mix well.
- Centrifuge at 400 × g for 10 mins at room temperature with the brake on.
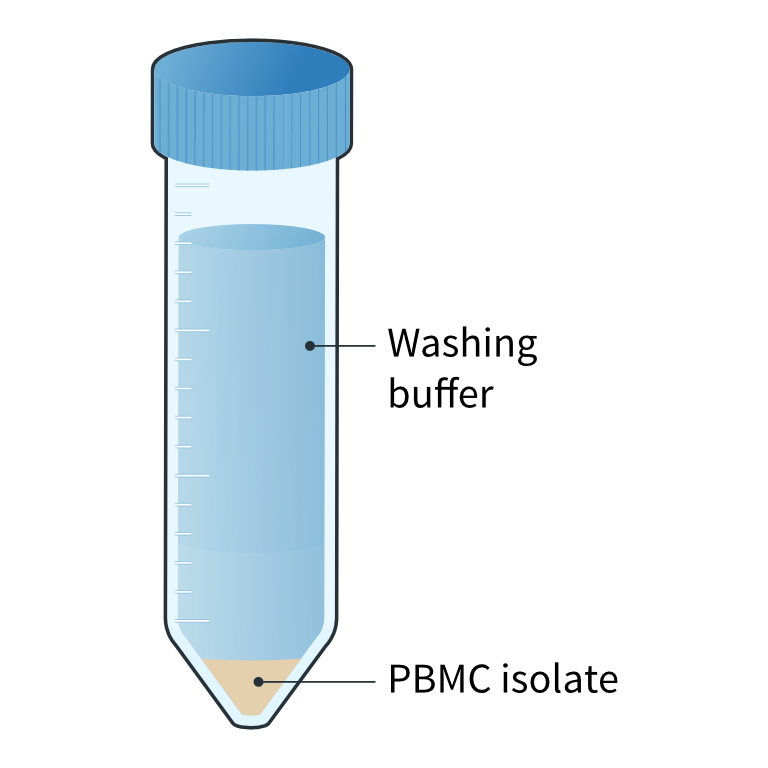
- Carefully, remove the supernatant to leave a PBMC pellet in the base of the tube.
- Repeat wash and centrifugation (steps 7-8).
- Add a final volume of 10 mL wash buffer and proceed to cell count/downstream use.
Protocol for manually counting PBMCs
In this protocol2, we will describe how you can manually estimate the number of PBMCs in your sample using trypan blue and a hemocytometer or similar chamber.
- Prepare a 1:1 dilution of your cells with 0.4% trypan blue in a 2 mL tube.
- Pipette the solution up and down to mix
- Incubate cells in this mixture for 2-3 minutes.
- Prepare the hemocytometer while the cells are incubating with the mixture
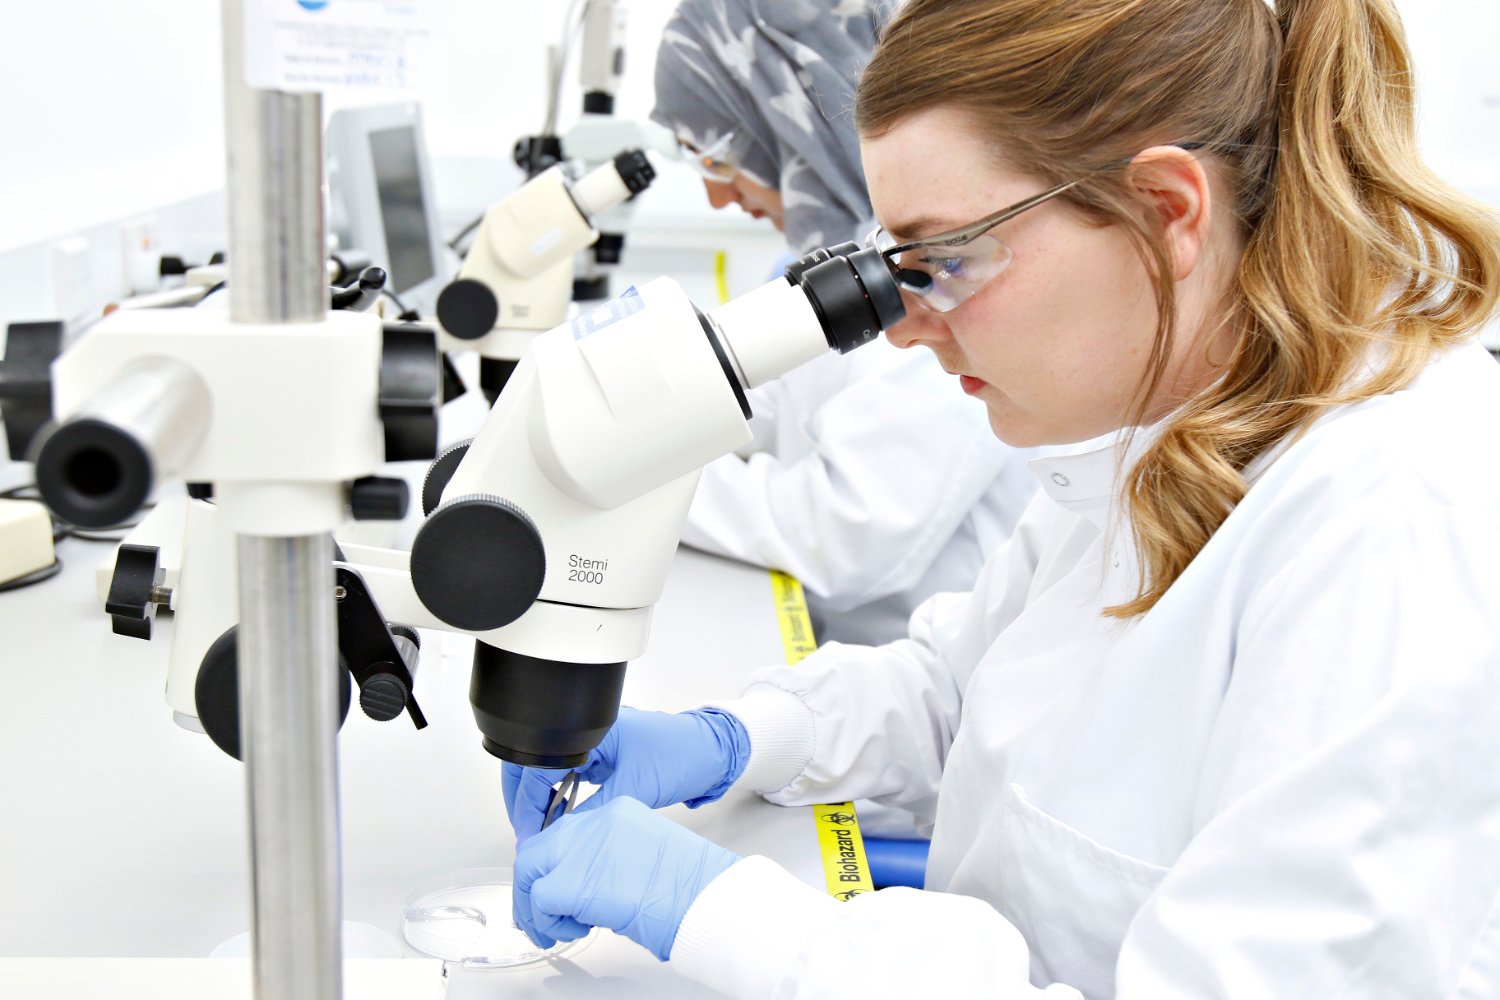
- Transfer 10 µL into the counting chamber and count the number of alive (non-blue) cells and dead cells (blue) using a light microscope.
- Use this number to estimate the total number of viable cells in the original sample
Protocol for freezing PBMCs
You may wish to cryopreserve your PBMCs for future research or biobanking. The below protocol3 uses DMSO to store your cells below -150°C. Make sure to keep all of the components on ice throughout the freezing process and label your vials before cryopreservation.
- Prepare the freezing medium at a ratio of 90% FBS and 10% Dimethyl Sulphoxide (DMSO).
- Pipette up and down to mix
- Centrifuge the PBMCs to create a pellet.
- Resuspend the pellet in the freezing medium at a concentration of 5-10×106 cells/mL*
- Distribute the mixture of cells and freezing medium into 1.5 mL cryovials.
- Transfer into a -80°C freezer
- Take the cryovials out of the -80°C freezer the following day and transfer them into liquid nitrogen for long-term storage
*PBMCs can be aliquoted at different concentrations depending on your intended downstream application. If you want to isolate nucleic acid, 1x10⁶ cells/mLl is recommended.
Infographic: Isolating PBMCs from blood using DGM centrifugation
1
Whole blood sample
 Overlaying the diluted blood onto density gradient medium (DGM)
2
Diluted blood layered on density gradient medium
3

Separation of diluted blood into 4 distinct layers
 Collection of the ‘buffy coat layer’ with PBMCs
4
Preparation of PBMC suspension

5
Washing of PBMC isolate
 Manual cell counting and calculation of the cell yield
6
Total cell number, viability and PBMC yield records
 Controlled-rate PBMC freezing
7
Labelling and cryopreservation
 Transferring of cryovials to liquid nitrogen (LN2)
8
Long term cryostorage of PBMC lots
Protocol for enriching cells from PBMCs
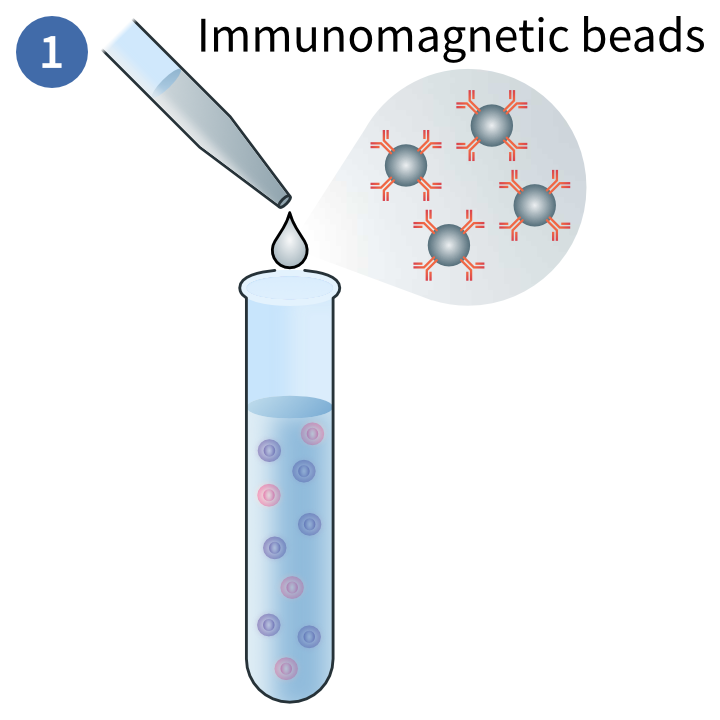
Immunomagnetic labelling of target cells
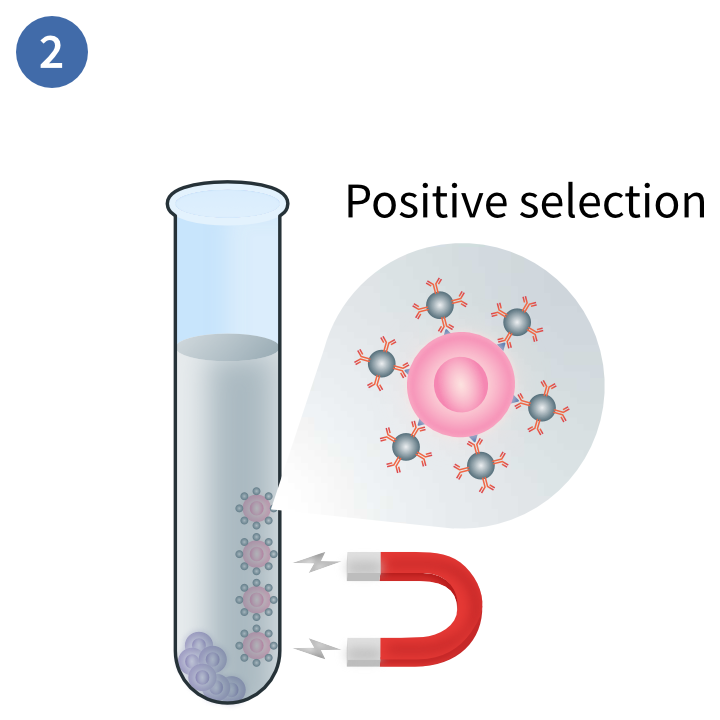
Separation of distinct layers
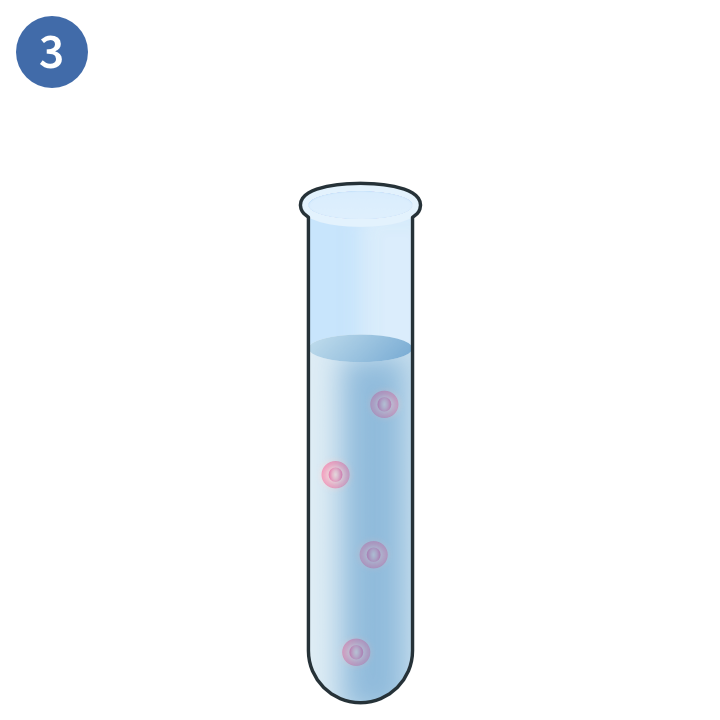
Separation of target cells
This magnetic technique uses positive selection to deplete PBMCs you do not want in your sample. In this method, magnetic beads are conjugated to antibodies that will bind to the target cells. These are exposed to a magnetic field and the non-target cells are disposed of.3
Protocol enriching lymphocytes from PBMCs
Lymphocytes, specifically monocytes, can be isolated from a PBMC sample based on their affinity for plastic. Our scientists have outlined the methodology for this non-magnetic isolation technique below.3
- Pre-prepare a tissue culture flask with a suitable monocyte adherent solution e.g., gelatin.
- Add autologous plasma and incubate for 30-60 minutes at 37°C.
- Pipette the PBMC cell suspension into the pre-coated flask at a concentration suitable for flask size.
- Incubate the flask for 40 minutes in a CO2 incubator at 37°C.
- Dispose of the non-adherent cells, then rinse the tissue culture flask gently with warm PBS.
- Repeat this washing step up to three times.
- Detach the adherent monocytes with PBS/5mM EDTA (1:1) and shake gently.
- Aspirate the cell suspension and transfer to a 50 mL conical tube.
- Centrifuge the suspension at 200 × g for 10 minutes at room temperature.
- Dispose of the supernatant and resuspend the pellet in complete culture medium at a concentration suitable for flask size.
- Incubate the flask in a CO2 incubator at 37°C.
References
- Bittersohl et al. Intracellular concentrations of immunosuppressants. Personalized Immunosuppression in Transplantation (2016).
- Bidmon et al. Tumor Immunology and Immunotherapy - Cellular Methods Part A. Methods in Ezymology (2020).
- Virgilio et al. Tumour Immunology and Immunotherapy - Molecular Methods. Methods in Enzymology (2012).
Editors note: This protocol is for guidance only, based on freely available information and typical protocols used in labs worldwide. REPROCELL is not responsible for the results of any work using this protocol(s).
REPROCELL’s contract research services use human living tissues to better predict drug safety and efficacy.

Author
Zara Puckrin, BSc
Zara is a GCU graduate who loves minimalism, marketing, and molecular biology. You can contact her on LinkedIn.
Stem cell and drug discovery scientists around the world are using REPROCELL’s services and products in their preclinical and clinical research.